

I wanted to make the card simple enough to let the earrings be seen, yet still keep the look of my business cards. I contacted the person that designed my logo and found out that the font she used was no longer available, so that squashed the idea of starting from scratch. I knew I was going to have to somehow use existing cards. When I had my cards printed at Moo.com, I also had several of the mini-moo cards printed to use as a hang tag for necklaces, bracelets, etc. I determined that if I could find a way to use the mini-moo card in the design, I'd have the best of both worlds.
This is my mini-moo. It looks like a small business card only longer.

Here's what I did:
I purchased a jumbo 3.5" craft punch at Hobby Lobby. I printed out "Sterling Silver" on white cover stock paper and then cut out the shape with the jumbo craft punch.

I inserted two of the white punched out pieces into am embossing folder and ran it through my Vintaj BigKick machine, embossing the punch with a pretty embossed design to give it some texture without adding color. I also printed my contact information on brown card stock for the back of the earring card.

I turned the white punch over and attached ultra-thin glue dots on the back (two on each of the bottom corners and one top center), then attached the back of the white punch to the front of the brown card stock, lining up the bottom and sides.
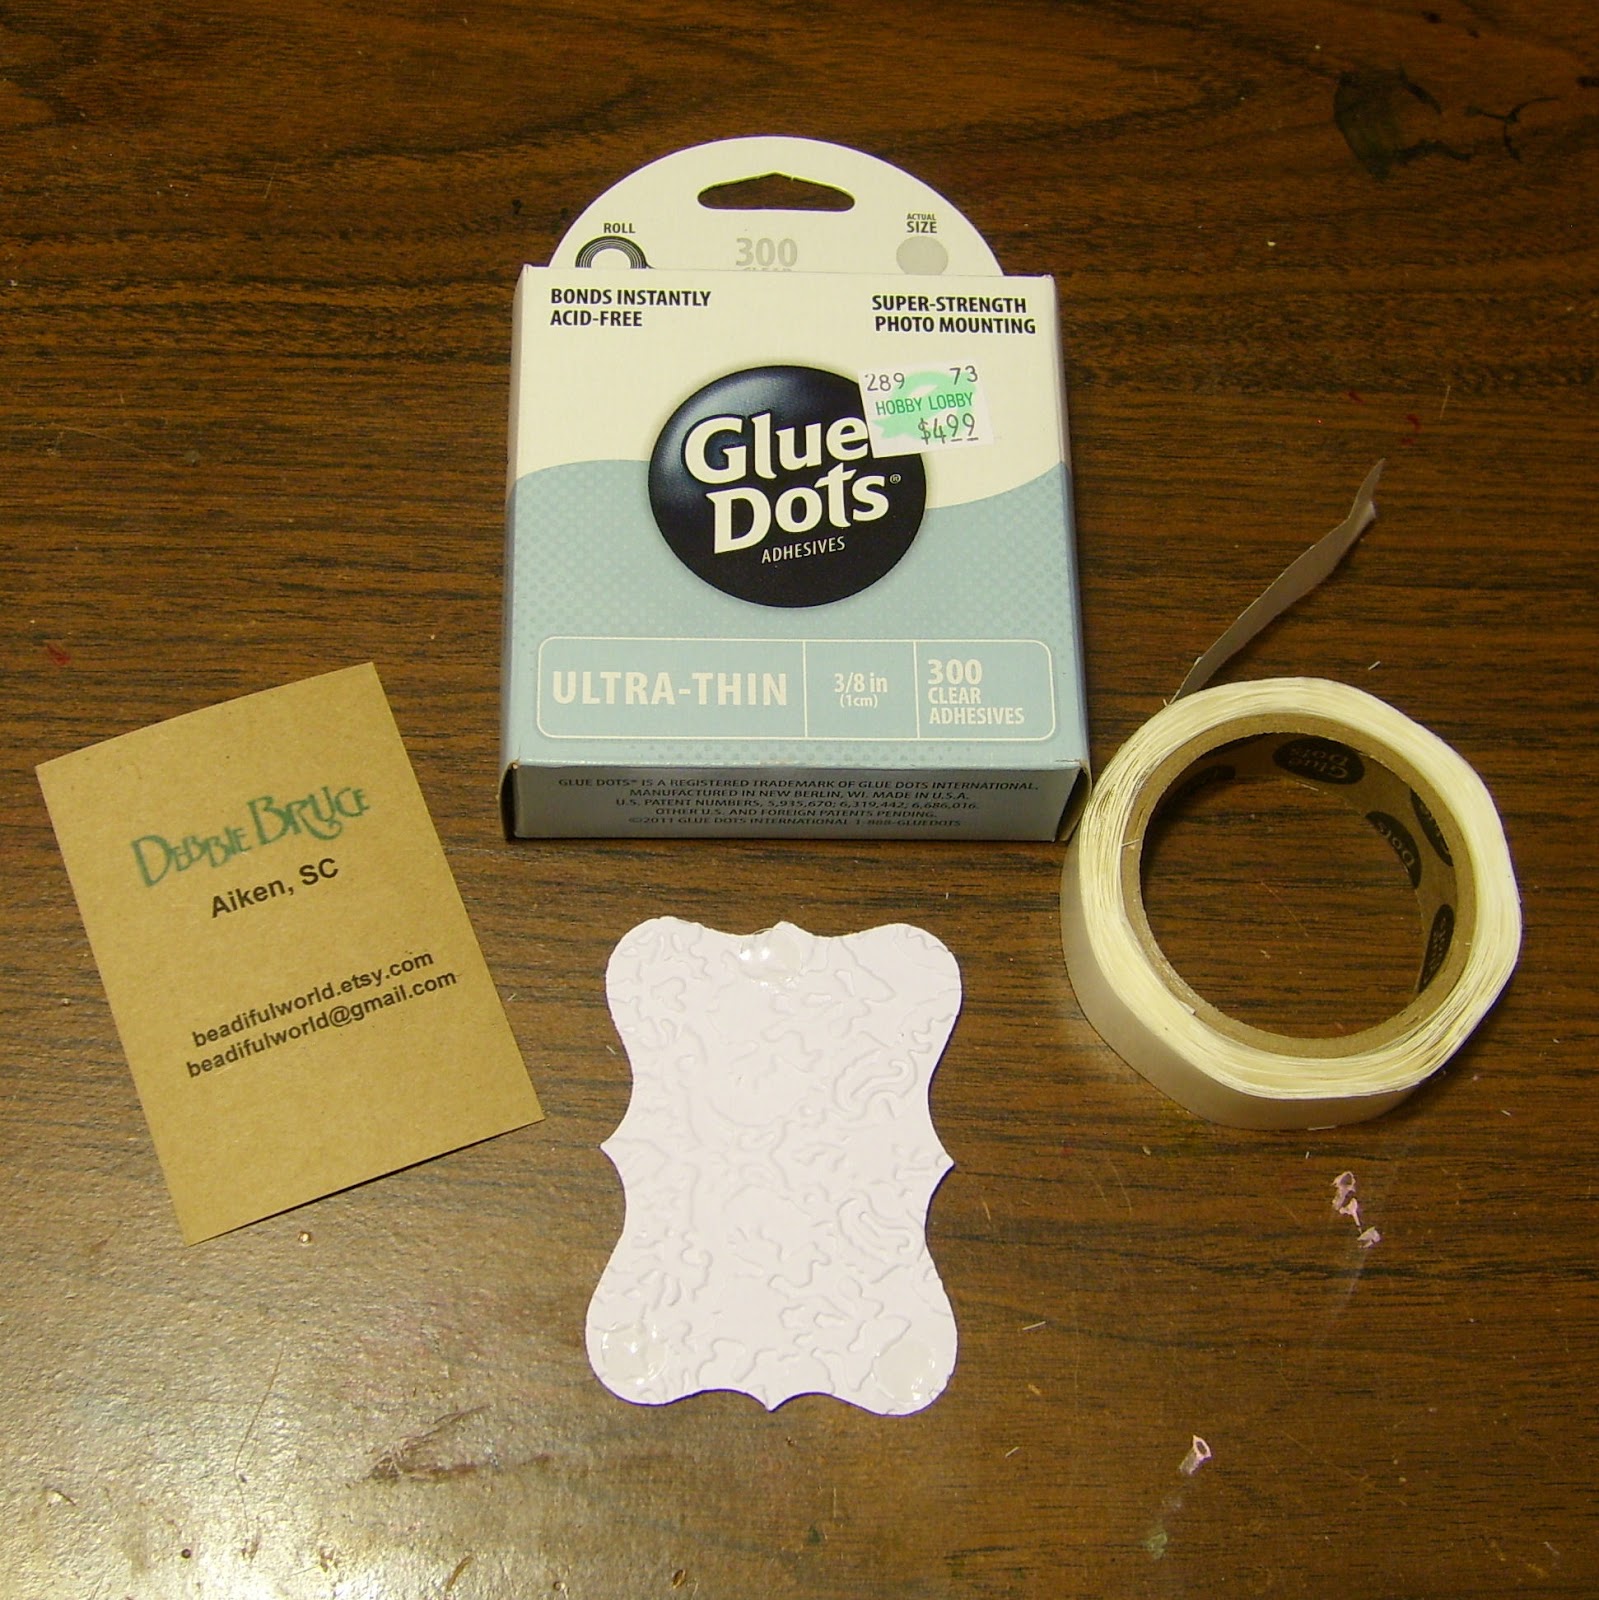
I applied two more glue dots to the top left and top right corners of the front of the earring card, attached one to the back of the mini-moo at the bottom edge of the mini-moo card, and placed it on the earring card, lining up the top and sides.


The mini-moo is longer than the earring card is wide, so I turned the earring card over and trimmed the part sticking out.

I attached an adhesive back earring adapter and Voila!! It has the look of my business cards, yet it's not too fussy so the earrings really pop.
 Thanks go out to my fellow SRAJD (Self-Representing Artists in Jewelry Design) for throwing around ideas, and especially to Shelly Owen and Jen Smith Fletcher for really giving me a push!


4 comments:
I'm so impressed! They are so unique and creative - kudos to you, Debbie!
These are LOVELY! What a pretty card design! Question.. when you sell them like this, how do you package them or bag them up? I'm always interested to see the unique packaging people come up with as well. Do you do anything fancy?
Lp's Jewelry, thank you so much. I have a somewhat modest packaging, nothing over the top (but better than just putting it in a baggie). For some items I use white pillow boxes, and for larger items including the earrings I use white jewelry boxes. They both have my logo on top, tied up with organza ribbon.
I saw your post over in the SRAJD FB forum and had to come see! Really nice! I hope you reap many sales and smiles from folks with your new earring cards.
Post a Comment